Using Scissors
Before children can successfully use scissors, there are several skills they need to successfully develop. These include:
- Good sitting balance
- Hand dominance
- The ability to use both hands at the same time
- The ability to isolate the movements of their thumb, index and middle fingers
- Having enough muscle strength in the hand to be able to control the scissors
Click on each area for more information and activities to support your child's development in preparation for using scissors.
Holding Scissors
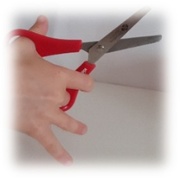
It is important that children are taught how to hold scissors and how to use them safely.
Children should hold scissors in their dominant hand with thumb and middle finger inserted into the scissor loops, with the index finger stabilizing the lower loop as shown in the picture.
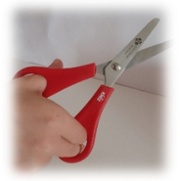 Younger children with smaller hands may find it easier to hold the scissors with index and middle finger inside the loop.
The child should be encouraged to keep thumbs up when cutting.
.
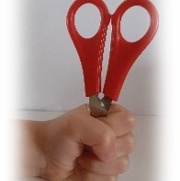
Children should be taught when walking with scissors they should grip the scissors in the palm of their hand as shown
Left handers
It is important that left handed children are given left handed scissors. The design of scissors prevents the effective use of right handed scissor in the left hand and can lead to ineffective cutting and frustration for the child.
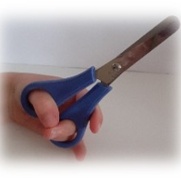
Left handed children should be encouraged to hold the scissors in the same way as above with index finger supporting outside of loops.
Learning to Cut
Step 1
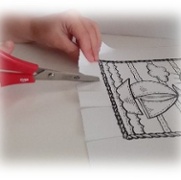 Once the child has learnt to hold the scissors, they will practice opening and closing the scissors. The child should first practice cutting in random snips on the edge of the paper. The child may find it easier to begin with heavier weight paper. The child should be encouraged to use their other hand to hold the paper.
- Practice cutting up thin pieces of playdough
- Cut up straws
- Cut the edge of paper plate to make a lion mask
Step 2
Once the child has mastered this skill they should be encouraged to cut across the paper from one side to the other. Start by cutting straight lines across the page, if using lines to cut on these should initially be a thick, short line (ie 15cm thick) and gradually decreasing the width.
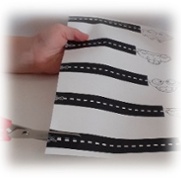
- Cut out strips of coloured paper to make paper chains
- Cut out strips of paper to complete paper weaving
- Cut out different craft materials to stick onto paper
Step 3
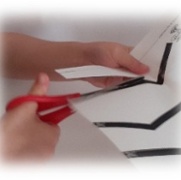 Once this skill is mastered, the child can practice changing direction with the scissors, this can be done by practicing with zig zag lines, again starting with thicker lines and progressing to thinner and simple shapes.
- Practice zig zag lines on different types of paper
- Cut out different shapes e.g. squares, triangles and make a house
- Cut out your own bookmark and decorate it.
Step 4
Once this skill has been mastered, the child can progress to wavy lines and circles.
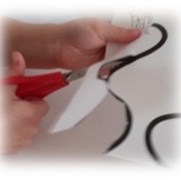
- Practice wavy lines on different types of paper
- Practice cutting different sized circles and make faces with them
- Make a snake mobile
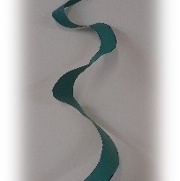
- Cut out different coloured circles and put together to create a caterpillar
Step 5
The child should then progress to practicing cutting shapes and pictures.
- Practice cutting out pictures in magazines
- Cut out pictures on greetings cards
The child should be give lots of opportunity to practice each of these activities to ensure they are confident before moving on.
Alternative Scissors
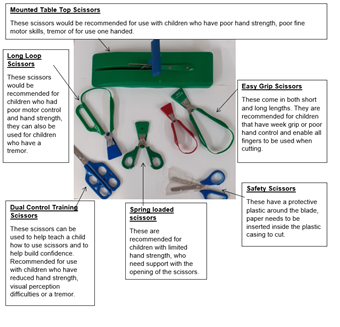
There are many different types of scissors available that can assist children who may have difficulty using regular scissors. It is important to remember that each of these scissors also come in left handed or right handed, it is important that the child uses the correct ones.